
This is truly a very significant event for the photography world: Affinity, one of the few real competitors to Photoshop, is now free. And this is not a short-term trick, but a thoughtful (and yes, generous) gesture by Canva. Let’s see how to quickly get started with Affinity.
Affinity by Canva is Free – and That Really Matters
If you are not familiar with Affinity, the key information has already been mentioned: It is one of the few true competitors to Photoshop, top-notch software for photo editing. The fact that it is now available for free is a big deal – both demanding and casual users now get access to advanced editing tools.
Canva, a very popular tool for creating all kinds of graphics, acquired Affinity last spring and has now announced that as part of the “creativity revolution,” this program will be freely available to the public.
Is there a catch? The only one is that AI tools for photo editing in Affinity are available only to Canva clients. Still, this program offers a very wide range of top-notch tools.
I have been playing with Affinity since 2015 and I have always considered this program a significant player in the world of photo editing. Although yes, no one has really managed to challenge Adobe’s exclusive position… Does it have a chance now? We’ll see! This is simply useful for everyone from time to time.
Video: How to Quickly Get Started with Affinity (15 min in 4K)
If this topic interests you, start with my video. In about 15 minutes, I will guide you exactly so that you can start playing with Affinity quickly and efficiently.
Below in the article you will also find a quick summary of the main points, but although I like texts and articles, in this case, video is really the best way to learn.
How to Start Editing Photos in 20 Steps
Finding What You Need
At the beginning, it is crucial to understand that Affinity is actually a trio (formerly separate) programs: Vector, Pixel and Layout. As the section names suggest, you can do major things with vectors and layout creation. Today, however, we will focus only on the photography section, Pixel.
The fourth part, Canva AI, is used for editing with artificial intelligence, which will undoubtedly be worth exploring — so I will cover it in a future article and video. Today we will only explore the part that is free and seems likely to remain so.
1. Panel Setup
To start, I recommend playing with the panel setup: through the unobtrusive “button” in the upper-right corner, you can activate a menu of options and select exactly what you need. At the beginning, this will certainly include Adjustments or Quick Adjustments. Panels can be moved around the program windows in various ways.
2. Fighting Confusion: Reset Panels
This is an essential tip — don’t get frustrated if you quickly get lost in functions and panels at the very beginning. “Reset panels,” a choice in the Window menu (Panels/Reset), will save you. As the name suggests, everything returns to its original layout, giving you another chance not to get lost.
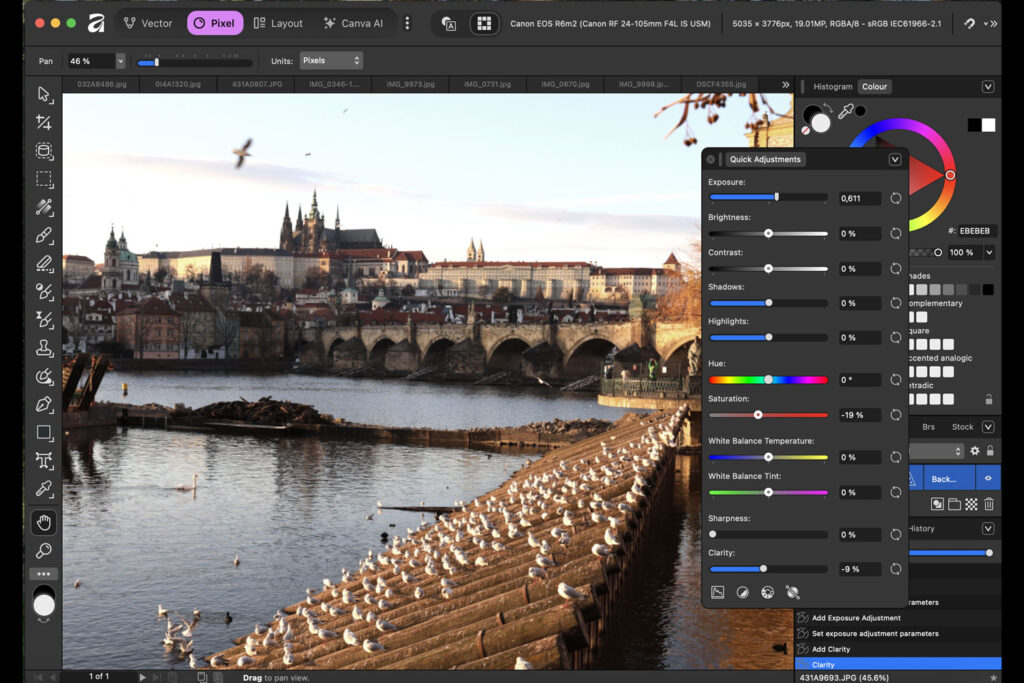
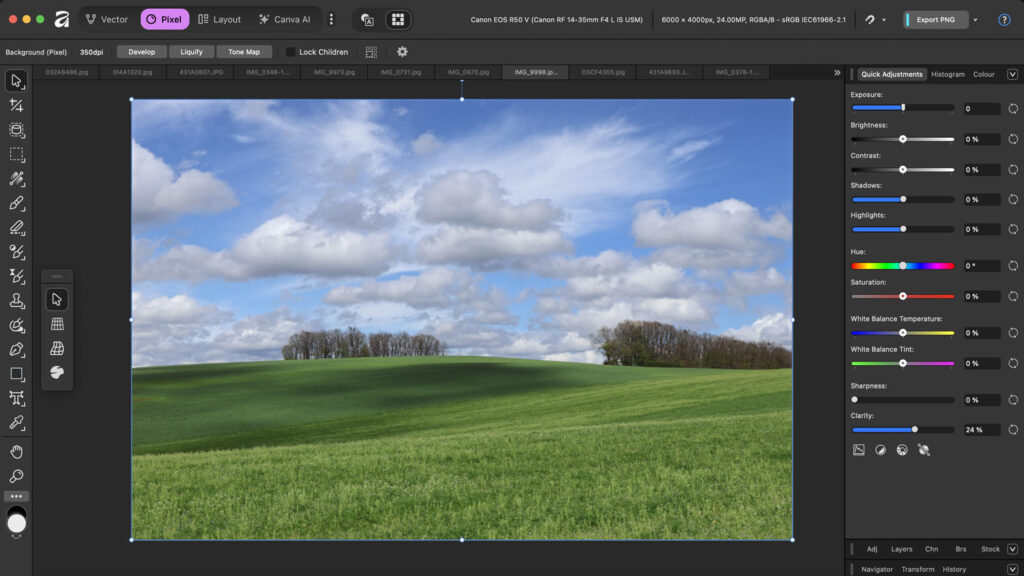
3. Quick Adjustments
The Quick Adjustments panel offers the most basic edits — if you have any experience with photo editing, you will quickly find your way around. For fast edits, it is often enough to adjust exposure, contrast, saturation, or white balance.
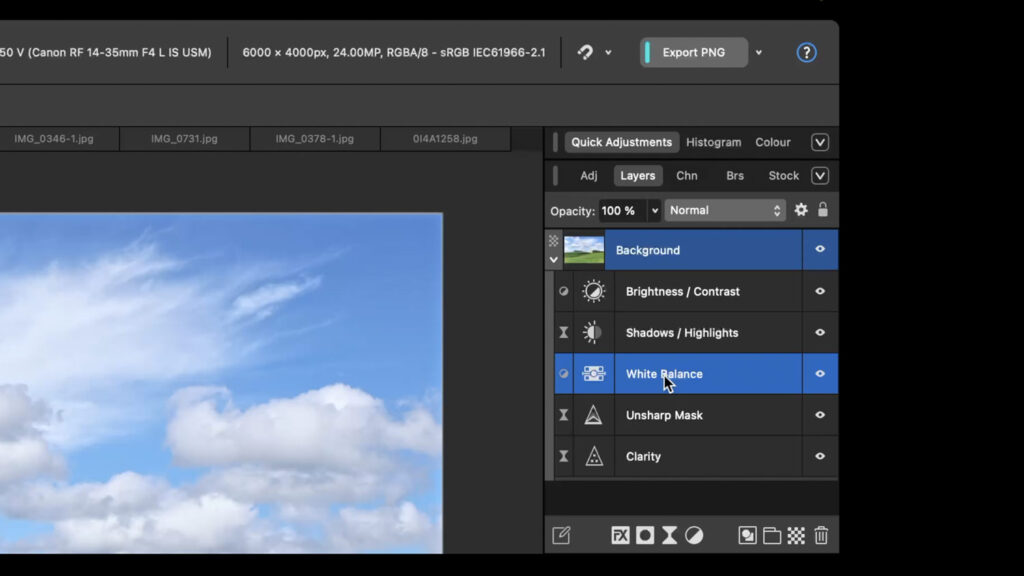
4. Essential Thing: Layers
Layers are the absolute foundation of working in Affinity, just like in Photoshop. The key logic is simple: every edit has its own layer, you can navigate layers, toggle edits on and off, and make almost endless adjustments.
5. Duplicating Layers: Ctrl + J / Cmd + J
As a habit, I almost always duplicate the bottom layer before editing to keep the original photo intact (in case I do something outside adjustment layers). For this, Ctrl + J (or Cmd + J on Mac) is perfect.
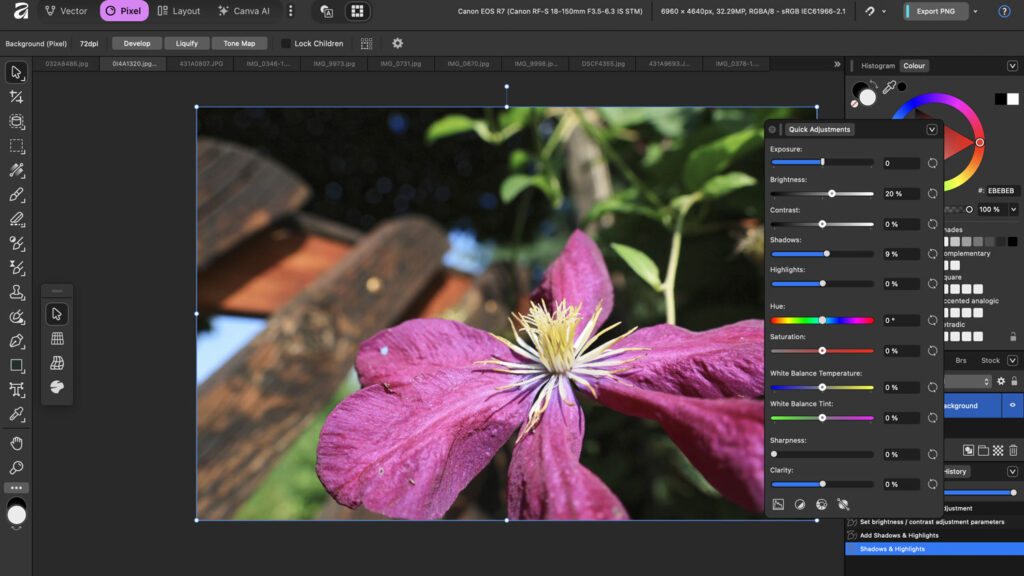
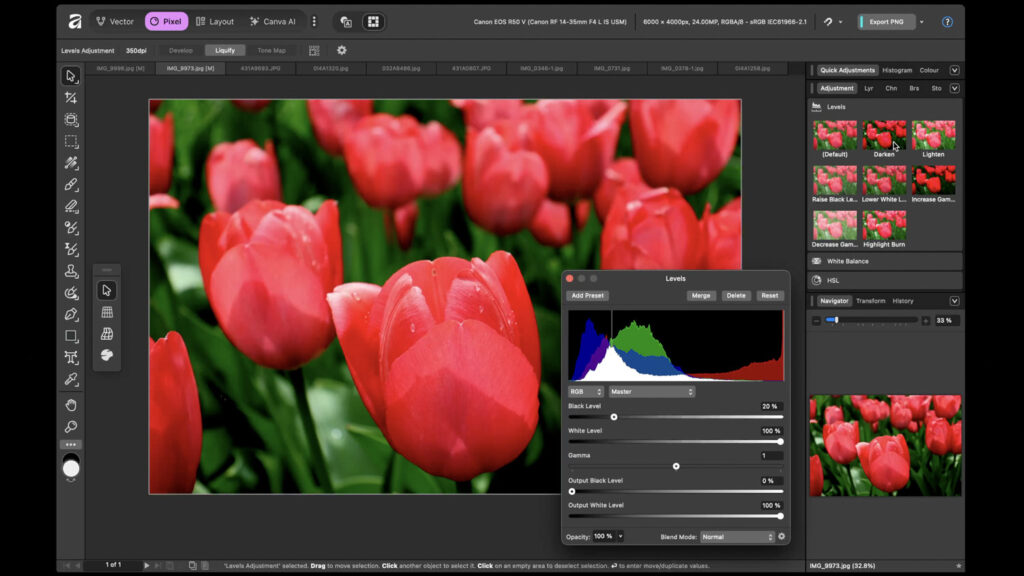
6. Adjustments – Detailed Edits
The Adjustments panel contains a wide set of tools for more precise edits — for example, curves, levels, and many more. Here too, each edit has its own layer. Unlike Quick Adjustments, these are more significant edits.
7. Adjustments – Second Option
In Affinity, you can usually reach a goal in many ways. For edits, you can also enable them via the “half-filled circle” icon in the right column — see the video. It is fast and practical, worth trying.
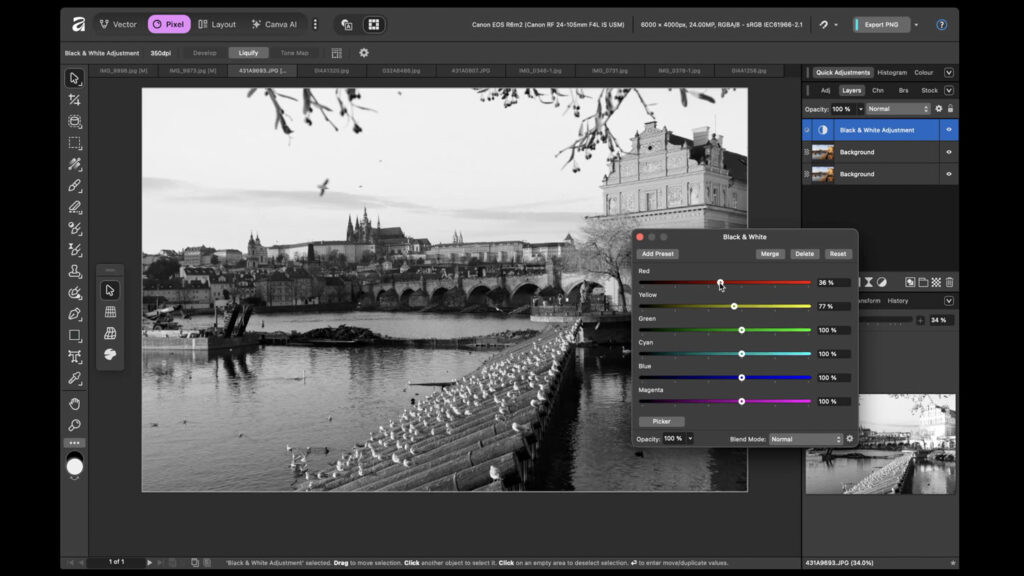
8. Creating Black and White Photos
For quick experiments, it is not bad to test black and white photo creation — which can be done in many ways, but it is reasonable to try in the previously mentioned Adjustments. And as always, to make the photo truly impressive, it is not enough to just “turn off” color via the saturation slider; you should also carefully tweak other values.
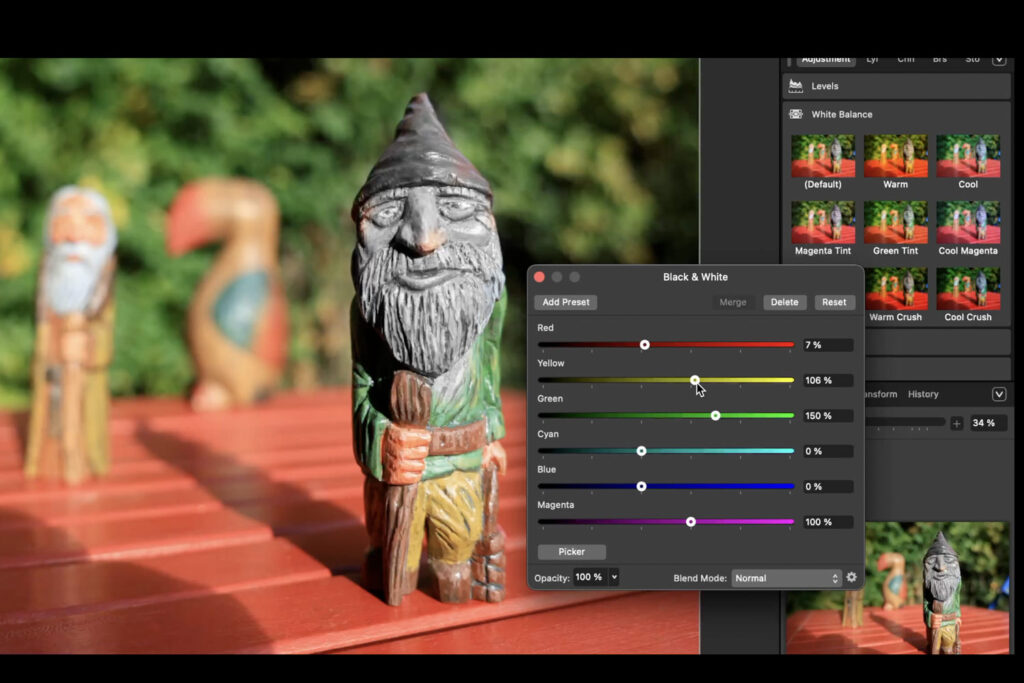
9. Adjustments – Presets
One more note on adjustments — over time, I really liked the presets, those “buttons” that instantly apply certain pre-settings. It saves time, and everything can still be tweaked further.
10. History Panel
In the History panel, you see all the steps you have taken during editing. And not only see, but actively return to them either with the cursor or via a slider, a kind of time machine. Very handy for beginners.
11. Quick Tip: Moving Panels
Once you get familiar with what each area offers, you can experiment with different panel layouts. Panels can usually be grabbed and moved somewhere else. And in case of confusion, everything can be reset (see above).
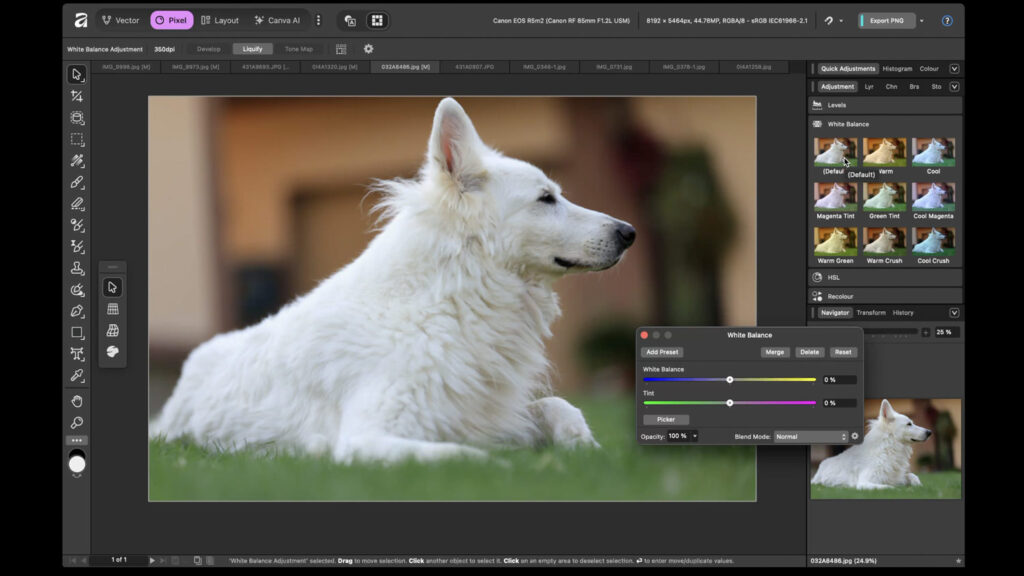
12. Quick White Balance Adjustments
For quick white balance adjustments, the previously mentioned presets are very handy — you can click through quickly and see which value works best for a specific photo.
13. Help Chatbot Really Works!
This is a small but amazing feature. Unlike other unnamed programs, Affinity has a functional help system with a quick Chatbot that gives solid answers.
14. Adjustment Brush Tool
Adjustment brushes are key for advanced edits. They allow applying changes only to specific areas — lightening, darkening, or adjusting contrast and color locally.
15. Inpainting Brush Tool
This brush is very useful — it removes unwanted areas from a photo or replaces them seamlessly.
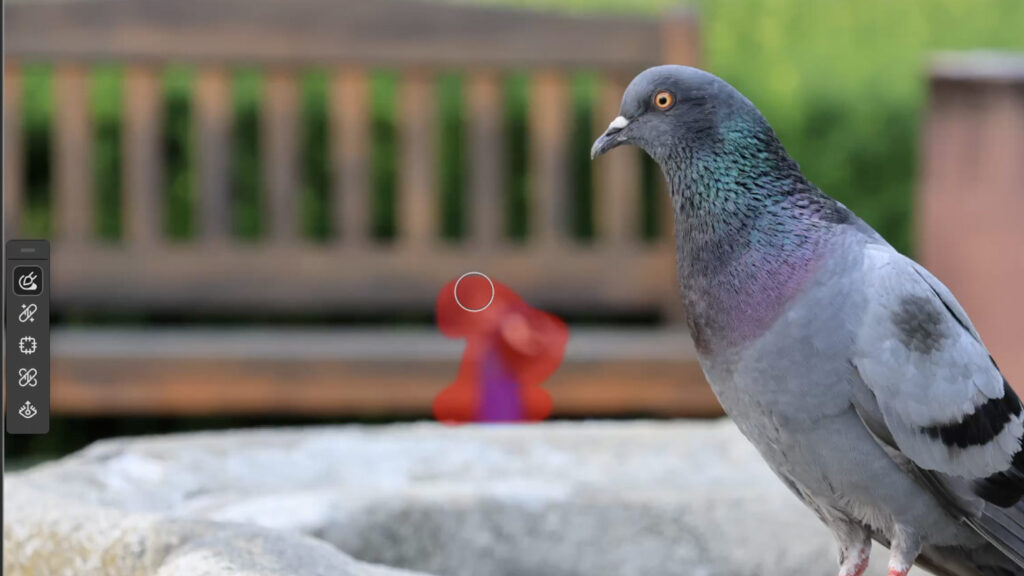
16. Blemish Removal Tool
This tool is for small, precise edits — like removing a spot, dust, or minor defect. Works similar to Inpainting Brush but for detailed work.
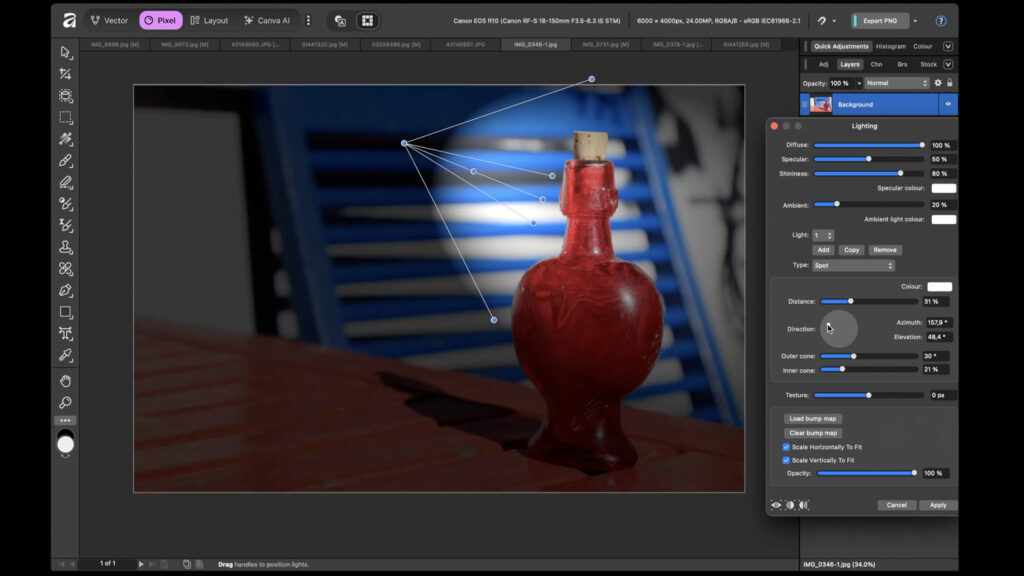
17. Lighting Filter
Lighting is just one example of many functions and filters — it simulates a light source in the image, allowing you to change direction and intensity to create effects or highlight the subject.
18. RAW Editing
Yes, Affinity works very well with RAW files, i.e., “raw” sensor data. It has a dedicated module similar to Photoshop, where you can develop RAWs and perform basic or advanced adjustments.
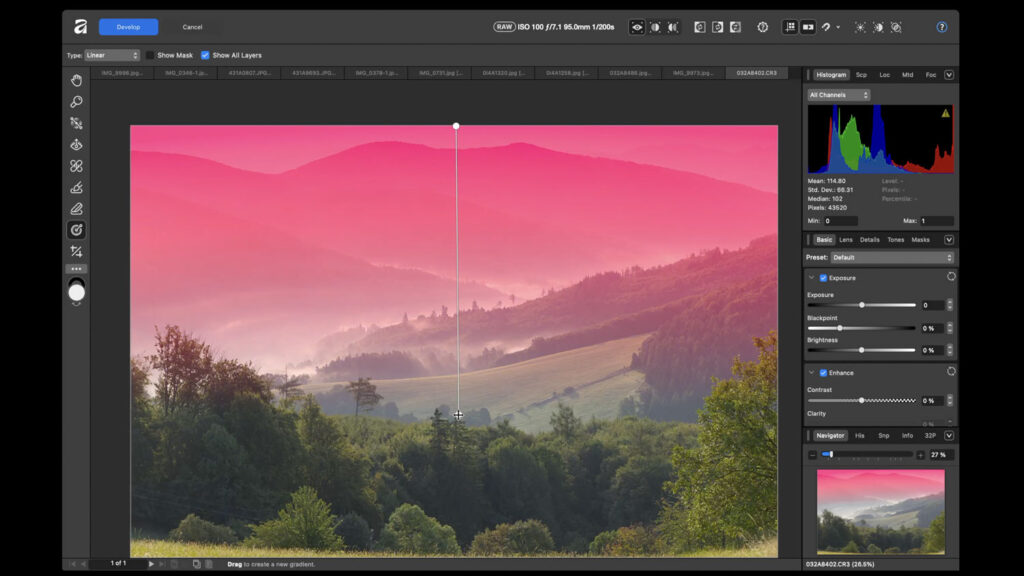
19. Mask Gradient Tool
The Mask Gradient Tool is an example of advanced RAW editing, useful for landscapes: for example, darkening the sky gradually with a gradient. It works very well and is best used directly on the RAW.
20. How to Quickly Export Photos
Finally, we want to export our edited photos — the export function allows saving in many formats: JPEG, TIFF, PSD for further work in Photoshop. You can also adjust size, HDR formats, and many other options.


Leave a Reply