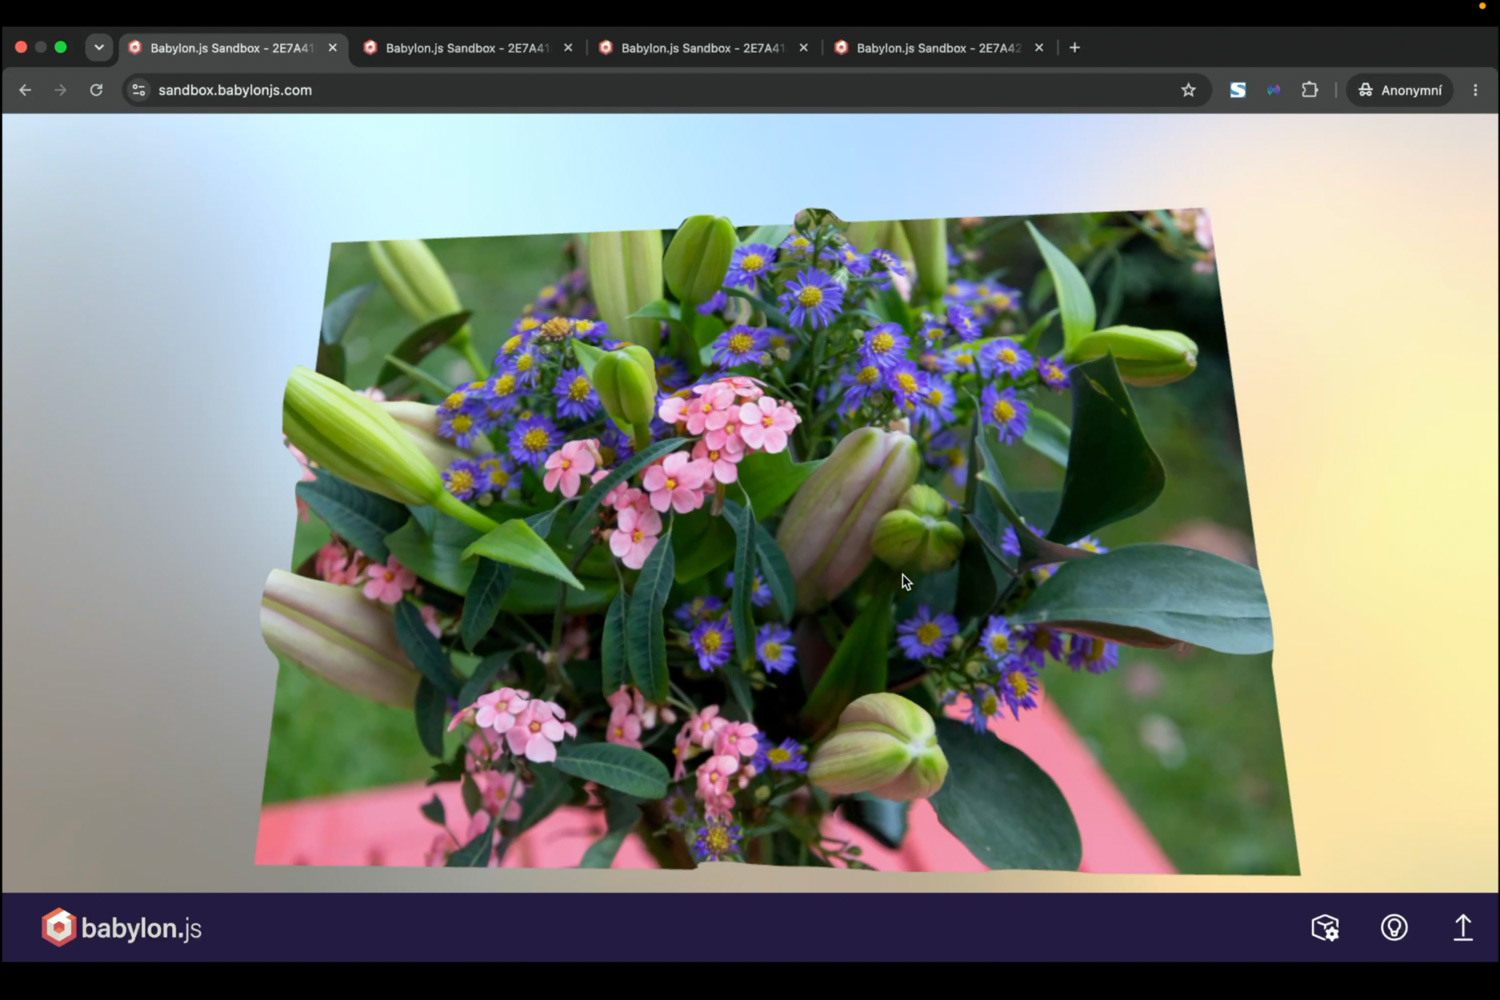
Canon has introduced a new technological innovation: the Dual Pixel 3D Converter program can do something a bit unexpected—it can turn an ordinary photo into a three-dimensional object. This can come in handy, for example, when photographing food or products. But most importantly, it’s a beautiful illustration of how the good old Dual Pixel technology works and what it’s capable of.
Dual pixels see the world twice—and you can take advantage of that
I’ll say right off the bat that for a quick overview, it’s best to watch the video where I demonstrate all of this (see below)—after all, moving images show it best. But it’s definitely worth taking a moment to organize the whole concept here in this article as well. It’s actually quite easy to get lost in all the terminology and overlook the essential point: that this isn’t so much a little program for playing around with—where you can conduct interesting experiments—but rather the beginning of something new.
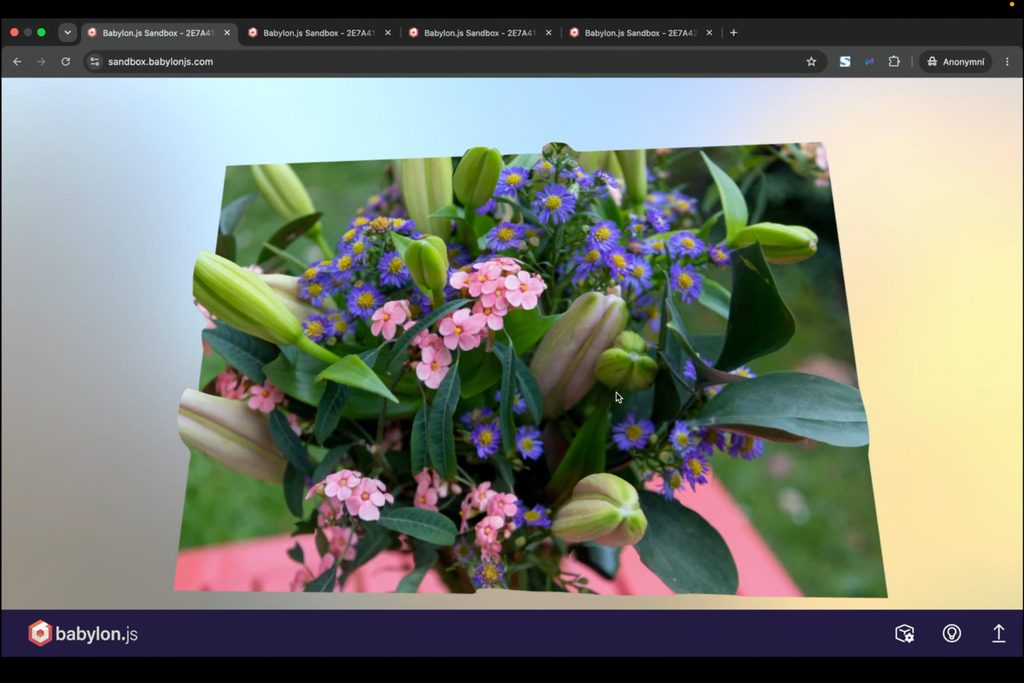
In my opinion—even though Canon doesn’t admit it anywhere—this is the first step toward being able to extract 3D data from a camera. In today’s age of artificial intelligence, this data is really useful for sophisticated work. So it’s a truly fascinating possibility.

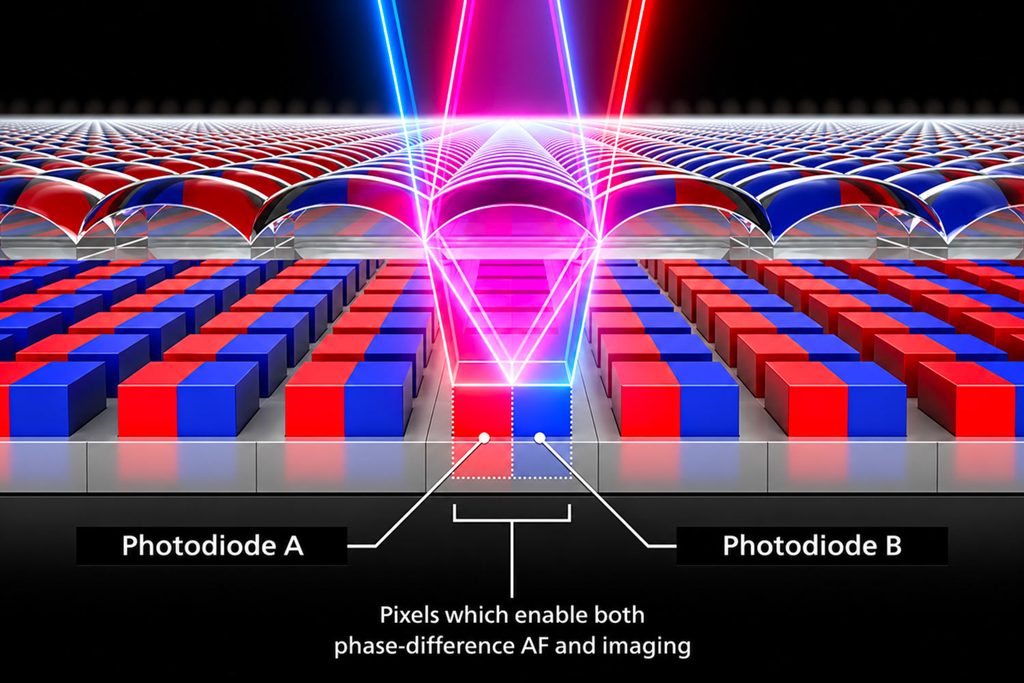
But let’s get our bearings here. To do that, we mainly need to understand the concept of “dual pixel,” which simply means that pixels consist of two parts capable of capturing slightly different information or views. From a single sensor and a single photo, it’s then possible to extract two slightly different images—the differences are absolutely minimal, but still noticeable in certain situations. This is key to using this technology for focusing: thanks to these differences, cameras can precisely determine where to focus. Yes, that’s Dual Pixel CMOS AF—autofocus that uses dual pixels.
Video: How the Dual Pixel 3D Converter Works
The Canon R8 Mark II Can Work Magic Even with JPGs
Let’s quickly add that the use of dual pixels isn’t anything new—here’s my article from exactly ten years ago, in which I explain it all: A Gimmick or a Revolution? Dual Pixels Can Change a Photo’s Background. It describes in detail what’s relevant now: that photos can truly be different (see the photo of my wife from that article) and that it’s possible to work with this in editing software, especially in Canon Digital Photo Professional, which has a special module for this.

And there’s one more term we need: Dual Pixel RAW—that is, a RAW format capable of recording precisely this information and then giving photographers (and software) the ability to work with 3D data. If a specific camera model supports it, all you need to do is enable this feature with a single setting in the menu. The big news is that the new Canon R8 Mark II (review here) no longer needs RAW to perform these tricks; it can extract the data even from JPEGs (you just need to enable the “Add distance data to JPEG” option).
Dual Pixel 3D Converter Opens Up New Worlds
So now Canon has once again brought the concept of Dual Pixel into the spotlight—with the launch of the Canon R8 Mark II, it has released its Dual Pixel 3D Converter software to the world. The first version can be downloaded here (currently for Windows only); on this page, you’ll find a detailed description, instructions, and (at the bottom of the page) sample files that let you try everything out right away.
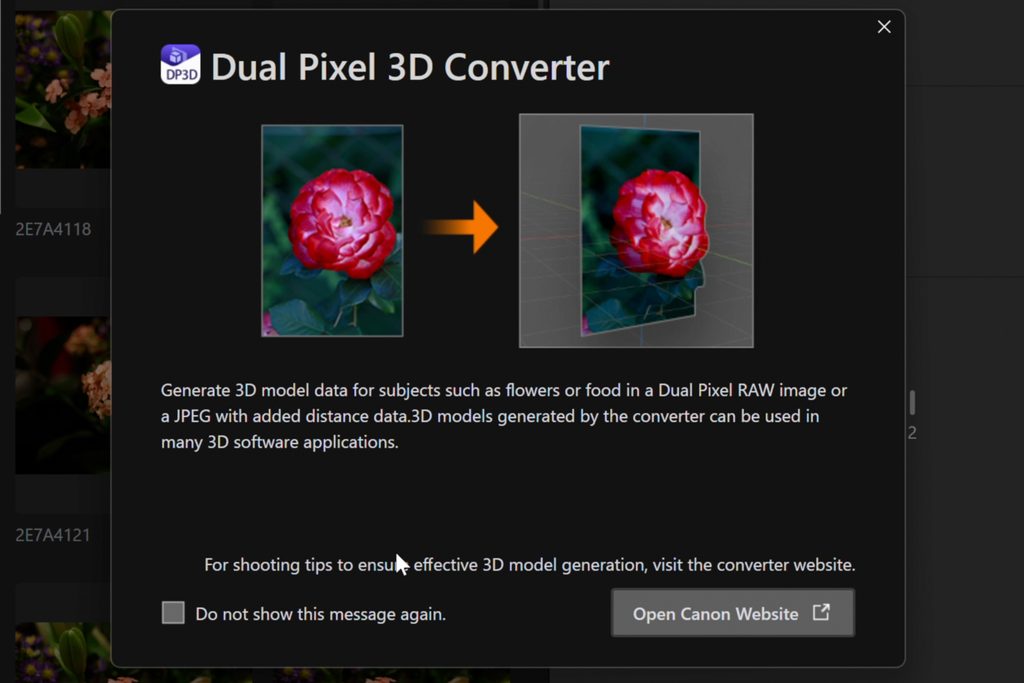
So what exactly does the program do? It’s actually very straightforward: if the RAW files (or JPGs from the Canon R8 Mark II) have the right properties, the photos will appear in the system. You can then convert them to 3D with a single click and save them in .obj or .glb format. There aren’t many settings to adjust—for example, you can control how pronounced the 3D effect will be, though in my opinion, it’s better to leave it at the default setting.
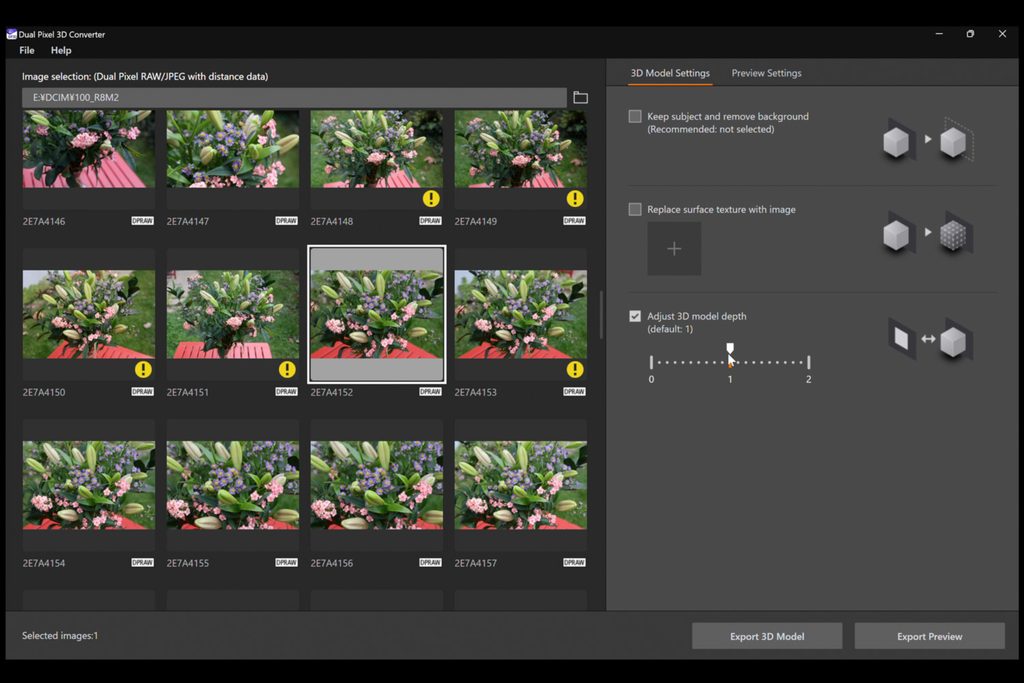
Much more important is the second option: embedding an edited photo into the resulting file—“Replace surface texture with image.” In other words, to make the photo look really nice, it’s a good idea to develop and edit the RAW file in Photoshop or Digital Photo Professional as usual. This layer will then give the resulting 3D file a more appealing look.
There are also a number of other options: how to remove the background, replace the background, and so on. All of this will undoubtedly continue to improve in future versions. And the key thing at this experimental stage is simply to try it all out, ideally in combination with the aforementioned overlay photo.
Before you start playing around, I recommend taking a quick look at the guide mentioned above; it describes in detail what to do and what to avoid so that the photo makes sense—what distance to choose, how to avoid blind spots, how to set the parameters, and so on. My advice is: don’t underestimate this, or your first attempts won’t turn out very well.
We have a 3D model, but what’s it actually good for?
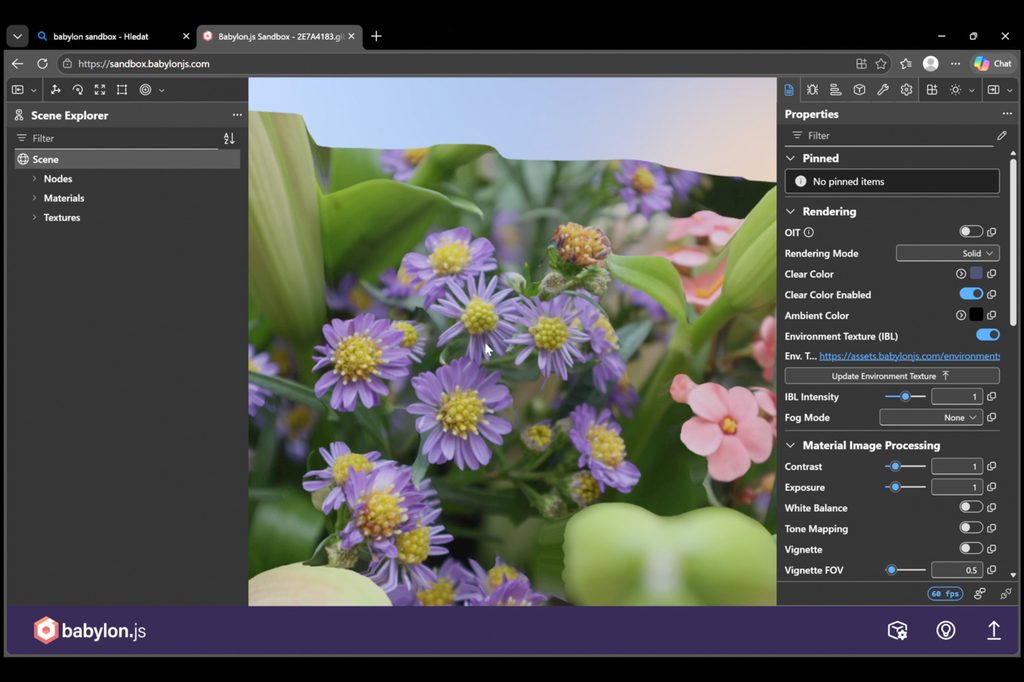
So, the program exports a model in .obj or .glb format. To view it, you’ll need to use an external tool—Canon recommends sandbox.babylonjs.com for quick previews. Just drag and drop the result into that site, and you can start playing around. And you really can see everything in 3D.
Of course, it works best with photos that don’t have too many “blind spots” and only require a slight tilt. But I have to say, it really does look very interesting.
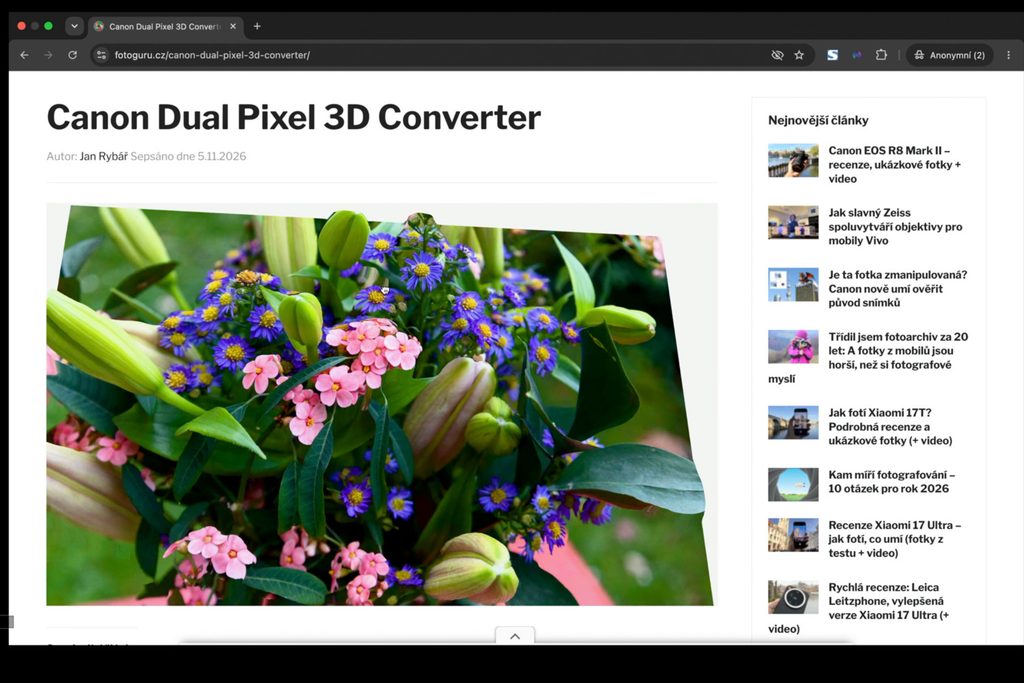
But what’s the point of this in real life? That’s obviously the key question. Canon itself highlights its use in presenting various small objects, food, and items. And yes, that makes sense. It’s easy to get the resulting “photo” onto a website (if you have a WordPress site like I do, ask Claude—he’ll send you the code and set up the parameters for a sleek display). So this definitely makes sense, for example, for showcasing dishes in a restaurant or desserts in a pastry shop; technically, it’s really simple.
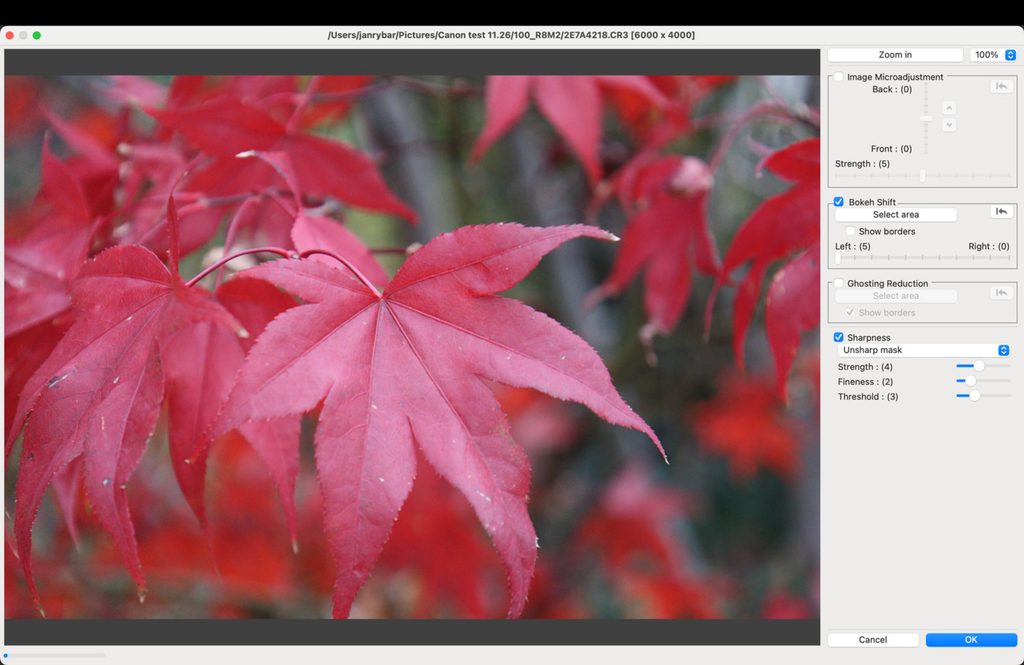
The second reason, as I’ve already mentioned, has even greater potential in my opinion: Canon is opening up its 3D data for a wide range of uses—which could be incredibly valuable for various sophisticated processes and modeling with AI or other tools—in any case, I tried it out, and Claude had no trouble taking the data and working its magic with it.
In short: yes, at this stage it’s more like playing around—but the potential here is huge, because high-quality input data will become increasingly essential in the future.

Related posts
-
Canon EOS R8 Mark II Review – Sample Photos & Video
-
Is This Photo Manipulated? Canon Can Now Verify Its Origin
-
Canon RF 100-400mm f/5.6-8 IS USM – Review, Sample Photos + Video
-
Canon R6 V: Open Gate Video Test – Why Full-Sensor Recording Matters
-
Best Cameras – Summer 2026: My 40 Reviews, 4 Tables, 10 Years of Testing
-
Testing a 30-Year-Old Canon PowerShot A5: Retro Review from Prague + video




Leave a Reply